Alt-Text Optimizer Pro - Overview
What Alt-Text Optimizer Pro does and how this documentation is structured.
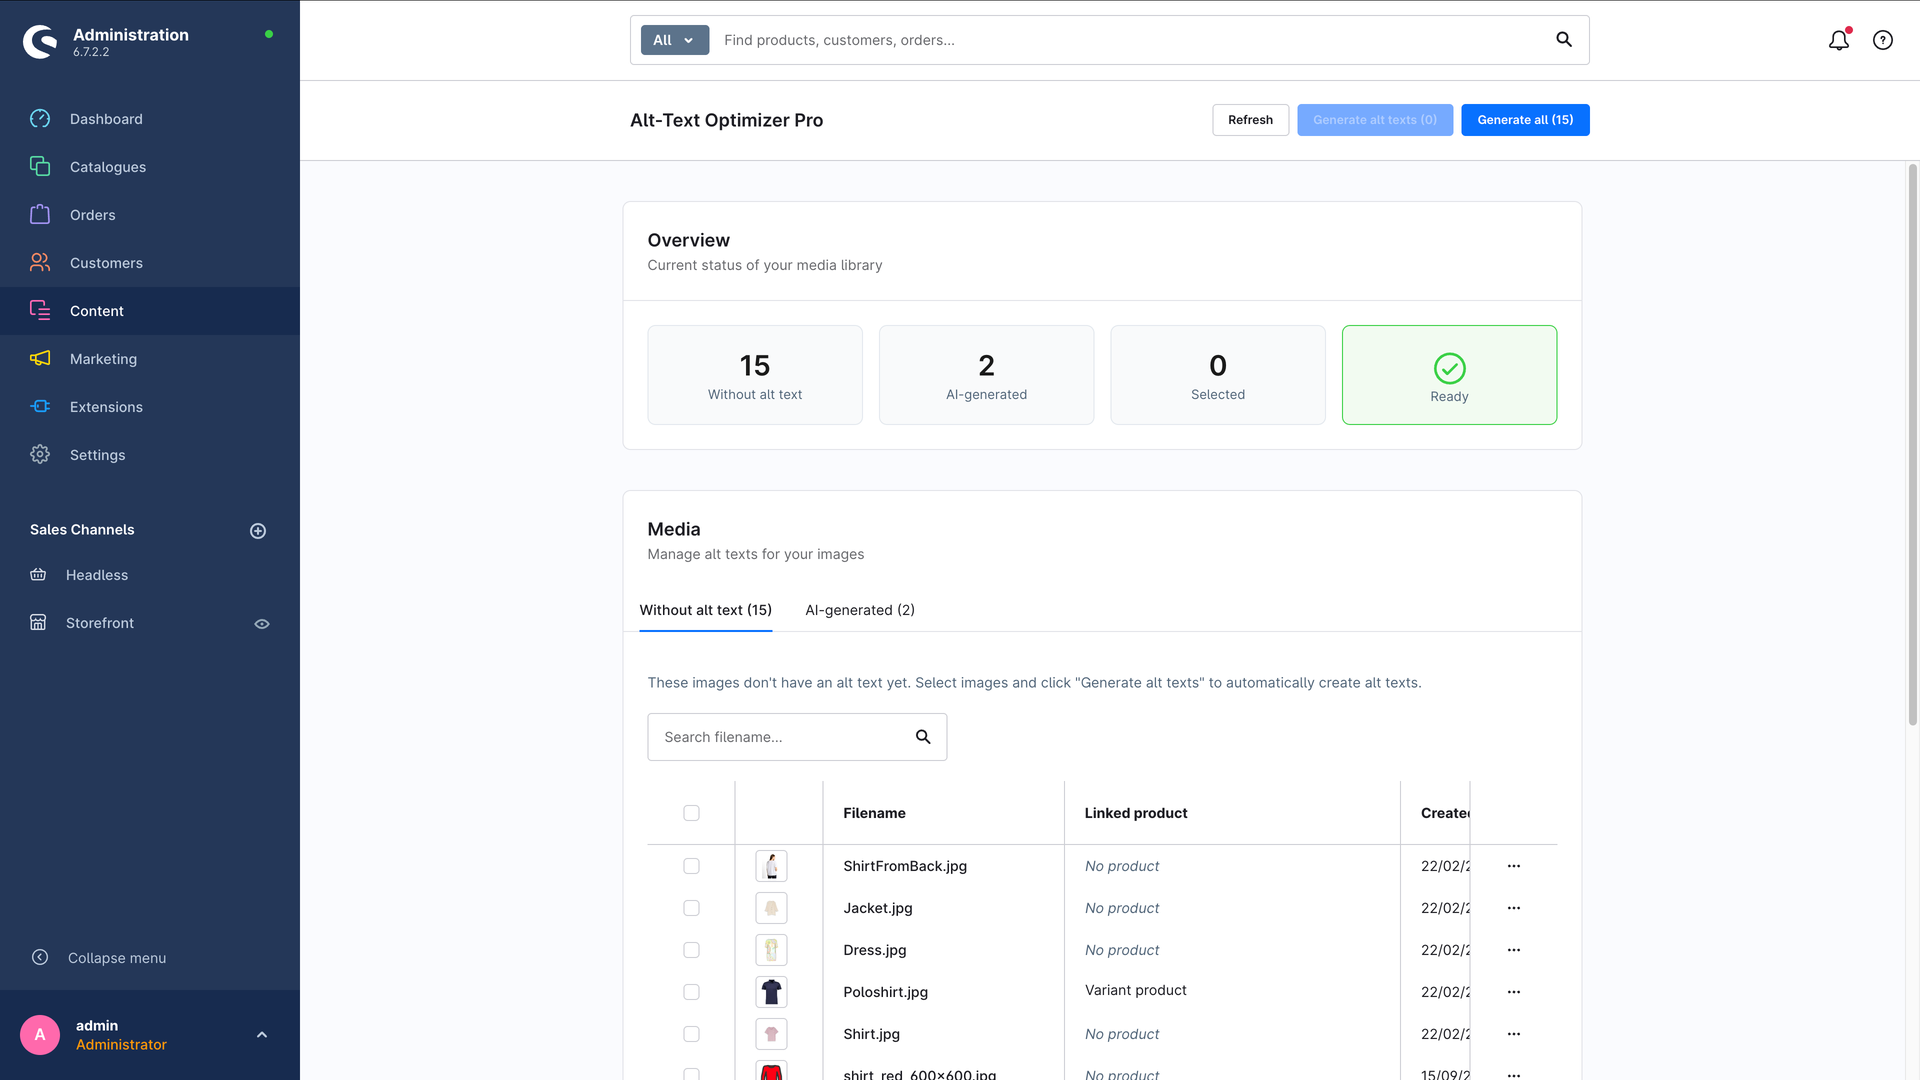
Welcome! Alt-Text Optimizer Pro writes the alt texts for your images automatically – with the help of AI. You pick the images in Shopware, click a button, and the plugin fills in a fitting alt text for each one. That is good for your Google ranking, makes your shop more accessible and saves you an enormous amount of typing.
This guide is written for everyone – you don't need any programming knowledge. Wherever things do get technical (installing via the console, or the API for developers), it is clearly marked as optional.
What is an alt text?
An alt text (short for "alternative text") is a short description in words of what an image shows. You normally don't see it – it sits in the background of the image. It matters for two reasons all the same:
- Accessibility: People with visual impairments use screen readers. Those read the alt text out loud – it is the only way for them to learn what the image shows.
- Search engine optimization (SEO): Google can't really "see" images. The alt text tells the search engine what it is about – which helps in Google Image Search and with your shop's ranking.
In short: an image without an alt text is practically "empty" to Google and to screen readers. With a good alt text it becomes findable and usable.
What is the plugin good for?
In a shop with hundreds or thousands of product images, writing every alt text by hand is barely feasible. That is exactly where the plugin helps: it sends your images to the image AI from OpenAI, has them described and writes the result straight back to the image in Shopware.
You stay in control of:
- the languages of the texts – since version 1.3.0 every language your shop has, several of them in a single run if you want,
- the length (minimum and maximum number of characters),
- how closely the AI looks (low, high or automatic resolution) and
- whether the product name should feed in as extra context.
What you need
- A shop running Shopware 6.7.
- An OpenAI account with an API key and a few euros of credit. Don't worry – we'll walk you through it step by step.
The plugin uses your own OpenAI key. That way you only pay the actual cost (usually fractions of a cent per image) and keep an eye on your budget at all times.
How to best get started
We recommend working through this guide in the following order:
- Installation – install and activate the plugin.
- Setting up the OpenAI API key – create the key and add it to the plugin.
- Configuration – adjust the settings (or simply keep the defaults).
- Generating alt texts – select images and generate texts.
- Multilingual alt texts – only if your shop has more than one language: pick target languages, protect existing texts, keep an eye on language coverage.
- Background & scheduled runs – work through large media libraries and let new images top themselves up.
- FAQ & help – answers to common questions and error messages.
Let's start with the installation.