EU AI Act Compliance - Bulk labelling
Folder defaults, bulk marking, CSV import, metadata scan and the review queue.
If you have a lot of images to label, there are much faster routes than going one by one. This page walks through all of them.
Four routes at a glance
- CSV import – bring in many labels at once from a spreadsheet.
- Bulk marking per folder – set every media item in a media folder to one status.
- Folder defaults – label new uploads in a folder automatically.
- Metadata scan + review queue – review the suggestions found in the image data.
1. CSV import
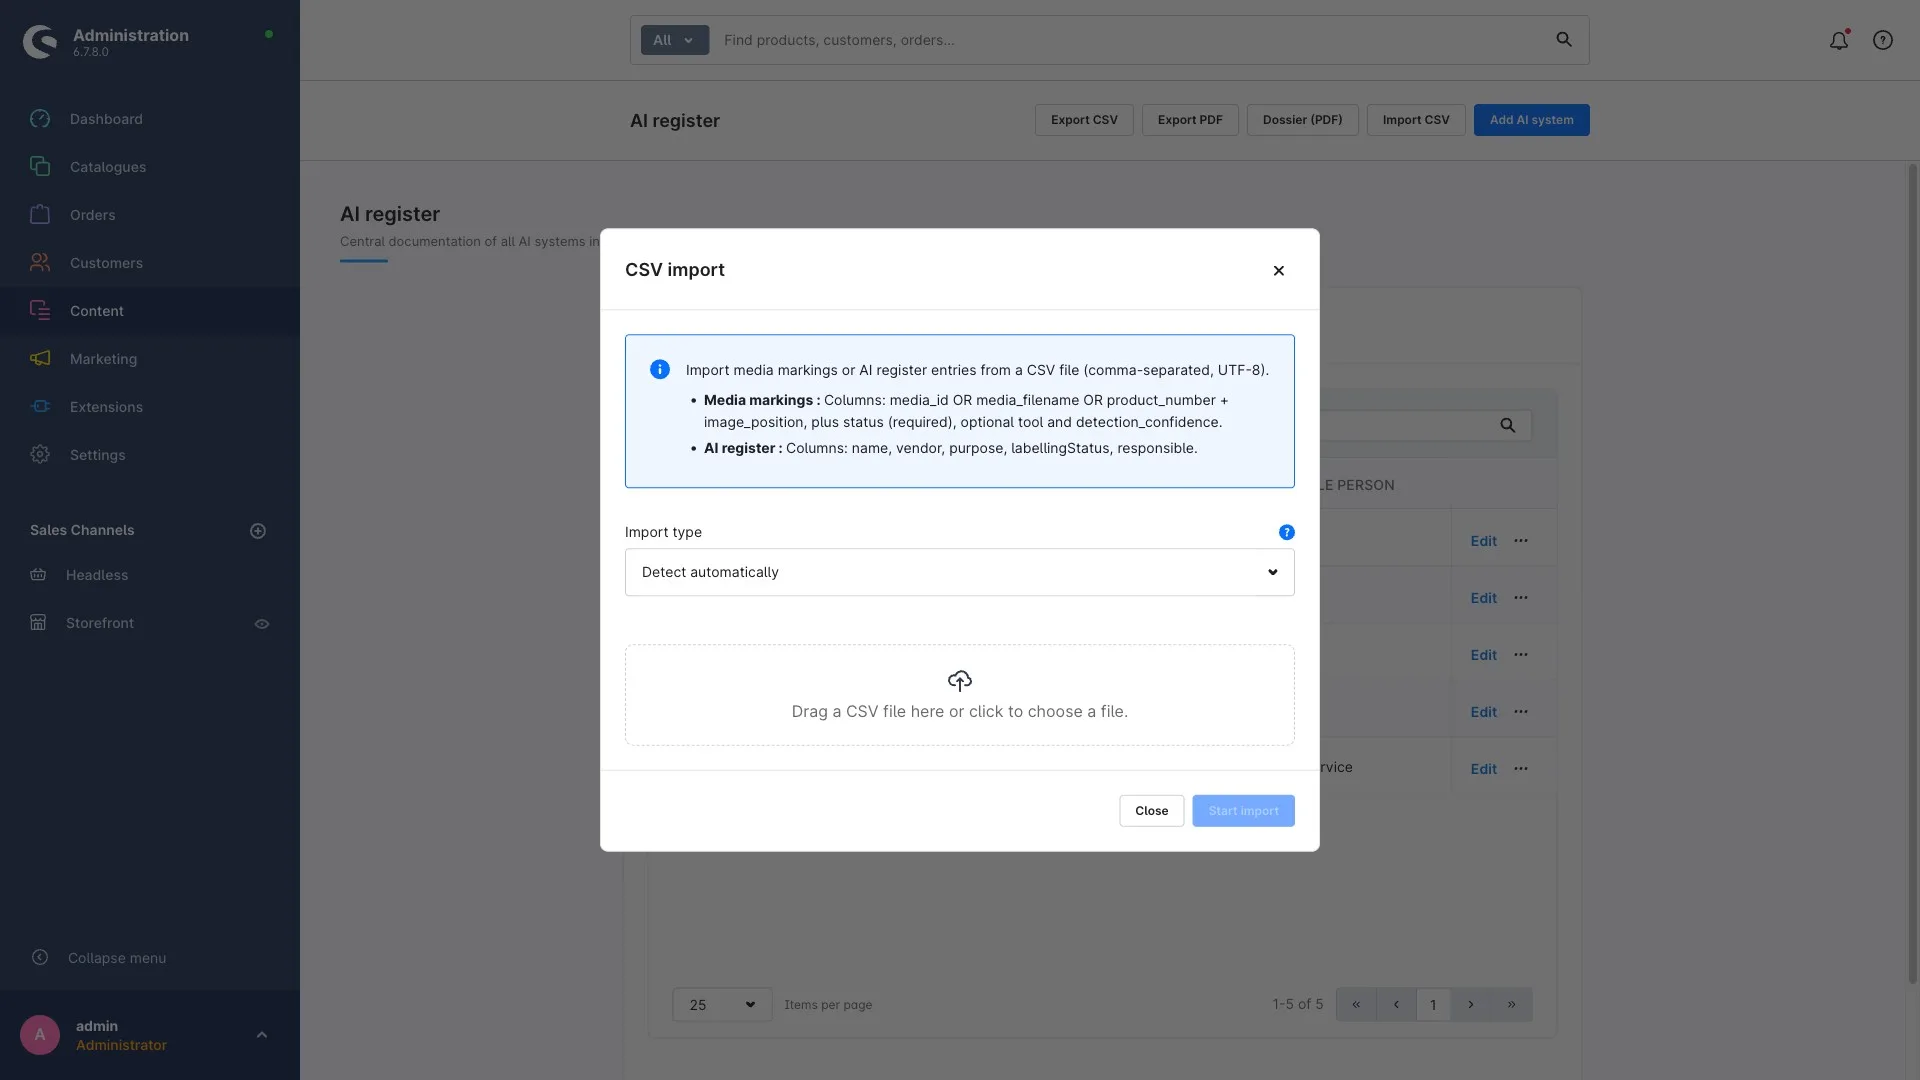
With a spreadsheet (CSV file) you can label any number of media in one pass.
Step 1: Open EU AI Act Compliance → AI register.
Step 2: Click CSV import.
Step 3: Pick your prepared CSV file and start the import.
How rows are matched to images
Each row says which media item it means. You have three options and pick one per row:
- the technical media ID (exact, if you know it),
- the file name of the image,
- product number and image position (the position is the order of images on the product, starting at 1).
On top of that, every row needs the desired status (required). The tool used is optional.
Example: a row with file name hero-banner.jpg, status "AI-generated" and
tool "Midjourney" labels exactly that image accordingly.
The columns at a glance
The header row decides what happens, and capitalisation does not matter. For media labels the import knows these columns:
| Column | Required | Content |
|---|---|---|
status | yes | not_ai, ai_generated, ai_manipulated or standard_edit |
media_id | One of the three matchers | Technical Shopware media ID |
media_filename | Alternative to that | File name of the image, e.g. hero-banner.jpg |
product_number + image_position | Alternative to that | Product number and image position, starting at 1 |
tool | no | Tool used, e.g. Midjourney |
detection_confidence | no | Confidence between 0 and 1 |
For register entries these apply:
| Column | Required | Content |
|---|---|---|
name | yes | Name of the AI system – the same name updates the existing entry |
vendor | no | Vendor |
purpose | no | Purpose of use |
labellingStatus | no | Labelling status |
responsible | no | Person responsible |
Which of the two kinds you are uploading is detected from the header row, so
there is nothing to switch. A file containing status, media_id,
media_filename, product_number or image_position counts as media labels;
one containing vendor, purpose, labellingStatus, responsible or just
name counts as register entries.
A label file therefore looks like this:
media_filename;status;tool
hero-banner.jpg;ai_generated;Midjourney
product-01.jpg;standard_edit;
product-02.jpg;not_ai;
What the format has to provide
- A header row is required. Without one the import stops.
- The delimiter can be a semicolon or a comma – the plugin detects it from the first line, so an Excel export works either way.
- The BOM Excel writes when you save as "CSV UTF-8" is tolerated.
- Quoting follows RFC 4180, so
"text; with a semicolon"works. - Limits: 2 MB and 5,000 rows per file. Split the file if you have more.
When a row does not go through
The import always runs to the end and then shows four numbers – processed, created, updated, skipped – plus a list of the skipped rows with their line number. That number is the line in the file including the header row, so you can jump straight to it in Excel. One bad row does not stop the rest of the import.
| Message | Cause | What to do |
|---|---|---|
Missing required column "status". | The row has no status | Add the status – without it there is nothing to set |
No usable identifier (media_id, media_filename or product_number + image_position). | None of the three matchers is filled | Fill one of the matcher columns |
Filename "…" is ambiguous (2 matches) — use media_id instead. | The file name exists more than once in the media library | Use the media_id for that row |
Product number "…" not found. | The product number does not exist in the shop | Check the number – usually a stray space or a leading zero |
Image position 4 not found for product "…". | The product has fewer images than stated | Check the position; counting starts at 1 in the order shown on the product |
Invalid media_id "…". | The ID is not a valid Shopware ID | Copy the ID from the media library instead of typing it |
Missing required column "name". | Register row without a name | Add the name |
Four messages abort the whole import instead, because the file as a whole cannot
be processed: Empty CSV content., CSV has no header row.,
CSV exceeds the maximum of 5000 rows. and
CSV exceeds the maximum size of 2097152 bytes. On top of that there is
Could not auto-detect CSV type from header columns. – then the header row
contains none of the columns listed above, usually because the file was saved
with a delimiter other than a semicolon or comma and therefore arrives as a
single column.
2. Bulk marking per media folder
This sets every media item in a given media folder to the same status in one go.
Step 1: Open EU AI Act Compliance.
Step 2: In the tools section, click Bulk marking.
Step 3: Pick the media folder.
Step 4: Pick the AI status that should apply to every media item in that folder, and optionally the tool.
Step 5: Confirm. All matching media get the status you chose.
Create a dedicated media folder for AI images. It makes bulk marking far easier – and keeps things tidy long-term.
3. Folder defaults for new uploads
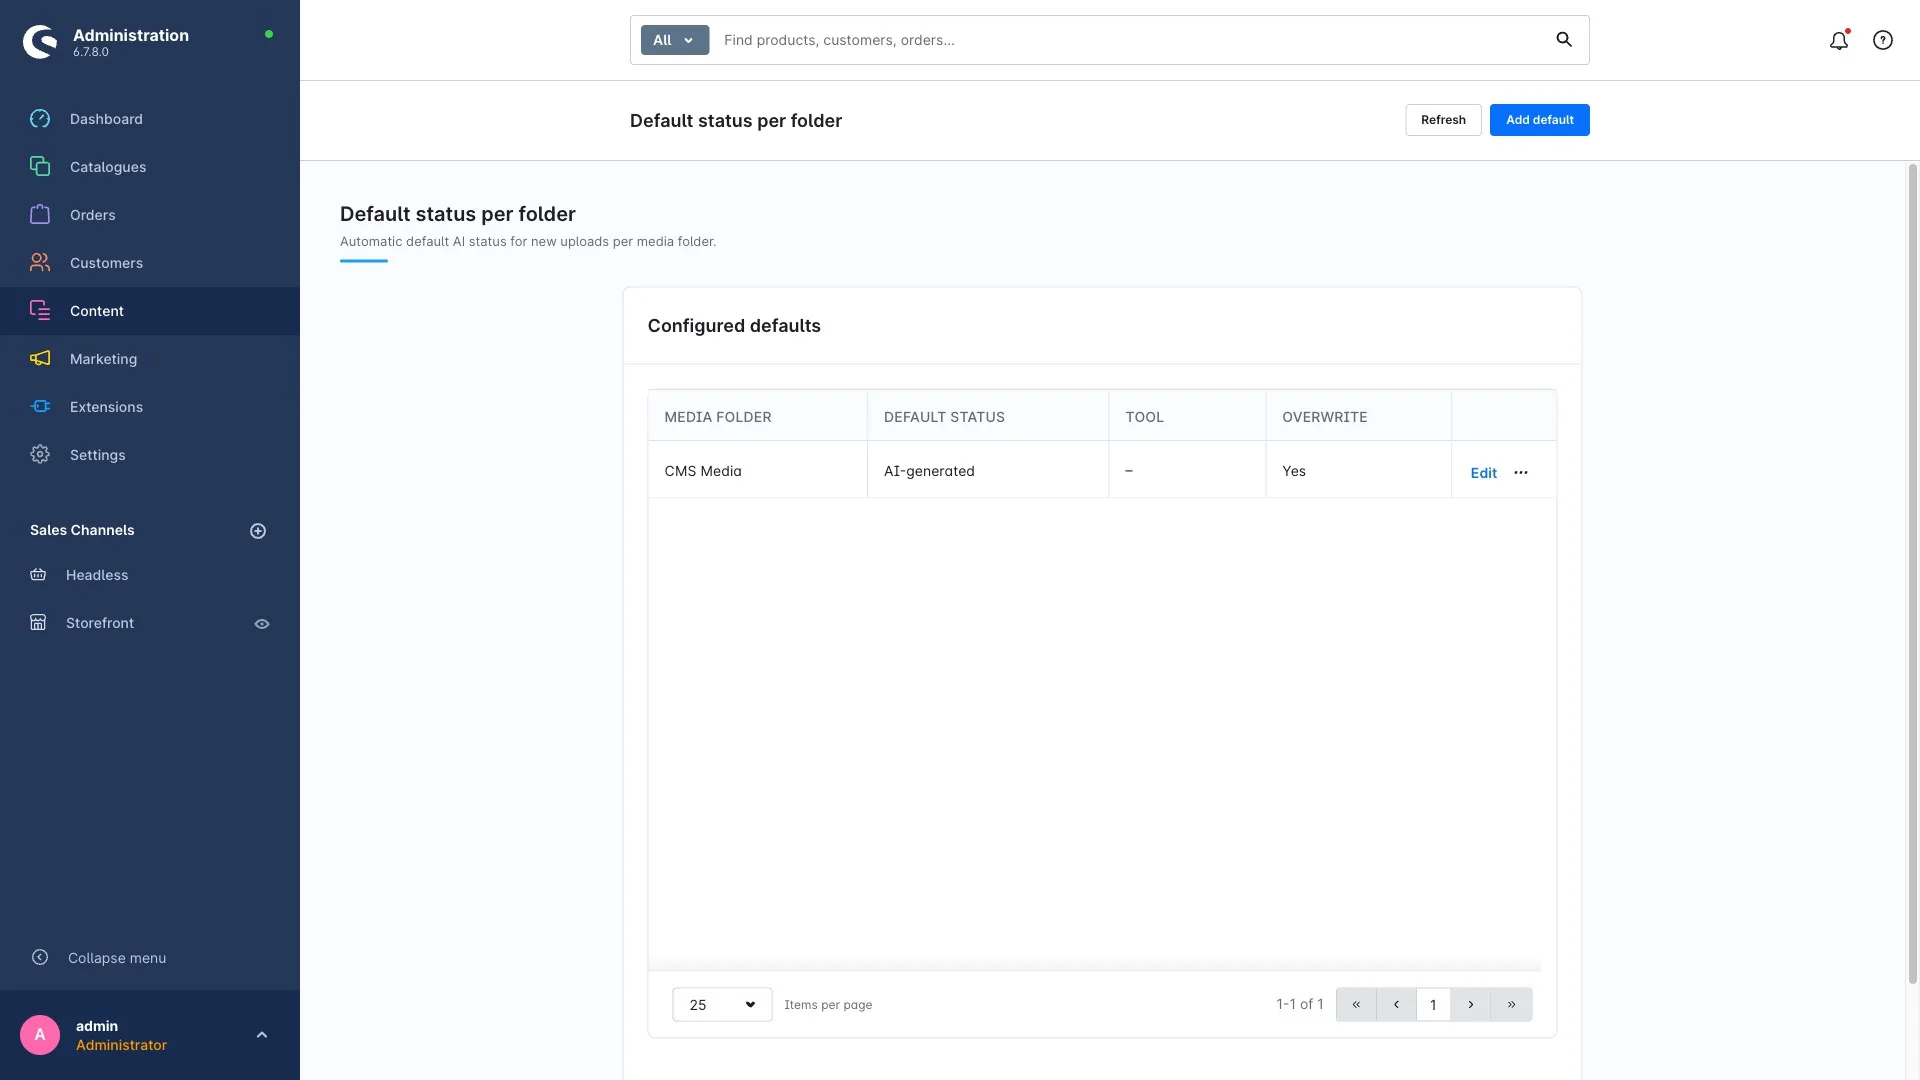
With a folder default, every new upload into that folder automatically gets the status you stored – you never have to set it by hand again.
Step 1: Open EU AI Act Compliance → Folder defaults.
Step 2: Click Add default.
Step 3: Pick the media folder and the default status (optionally a tool).
Step 4: Decide whether an existing status should be overwritten or not.
Step 5: Save.
From then on, new images in that folder are labelled automatically.
4. Metadata scan and review queue
On upload the extension reads technical image metadata (C2PA/IPTC, as written by DALL·E, Adobe Firefly and others) and can suggest a status from it. How sure the suggestion is is expressed as a confidence – a value between 0 and 1, the higher the surer.
You have two ways to handle suggestions.
A) Apply automatically
In the configuration you can set suggestions to be applied automatically above a certain confidence (threshold). Anything below that is only suggested.
B) Review them in the queue
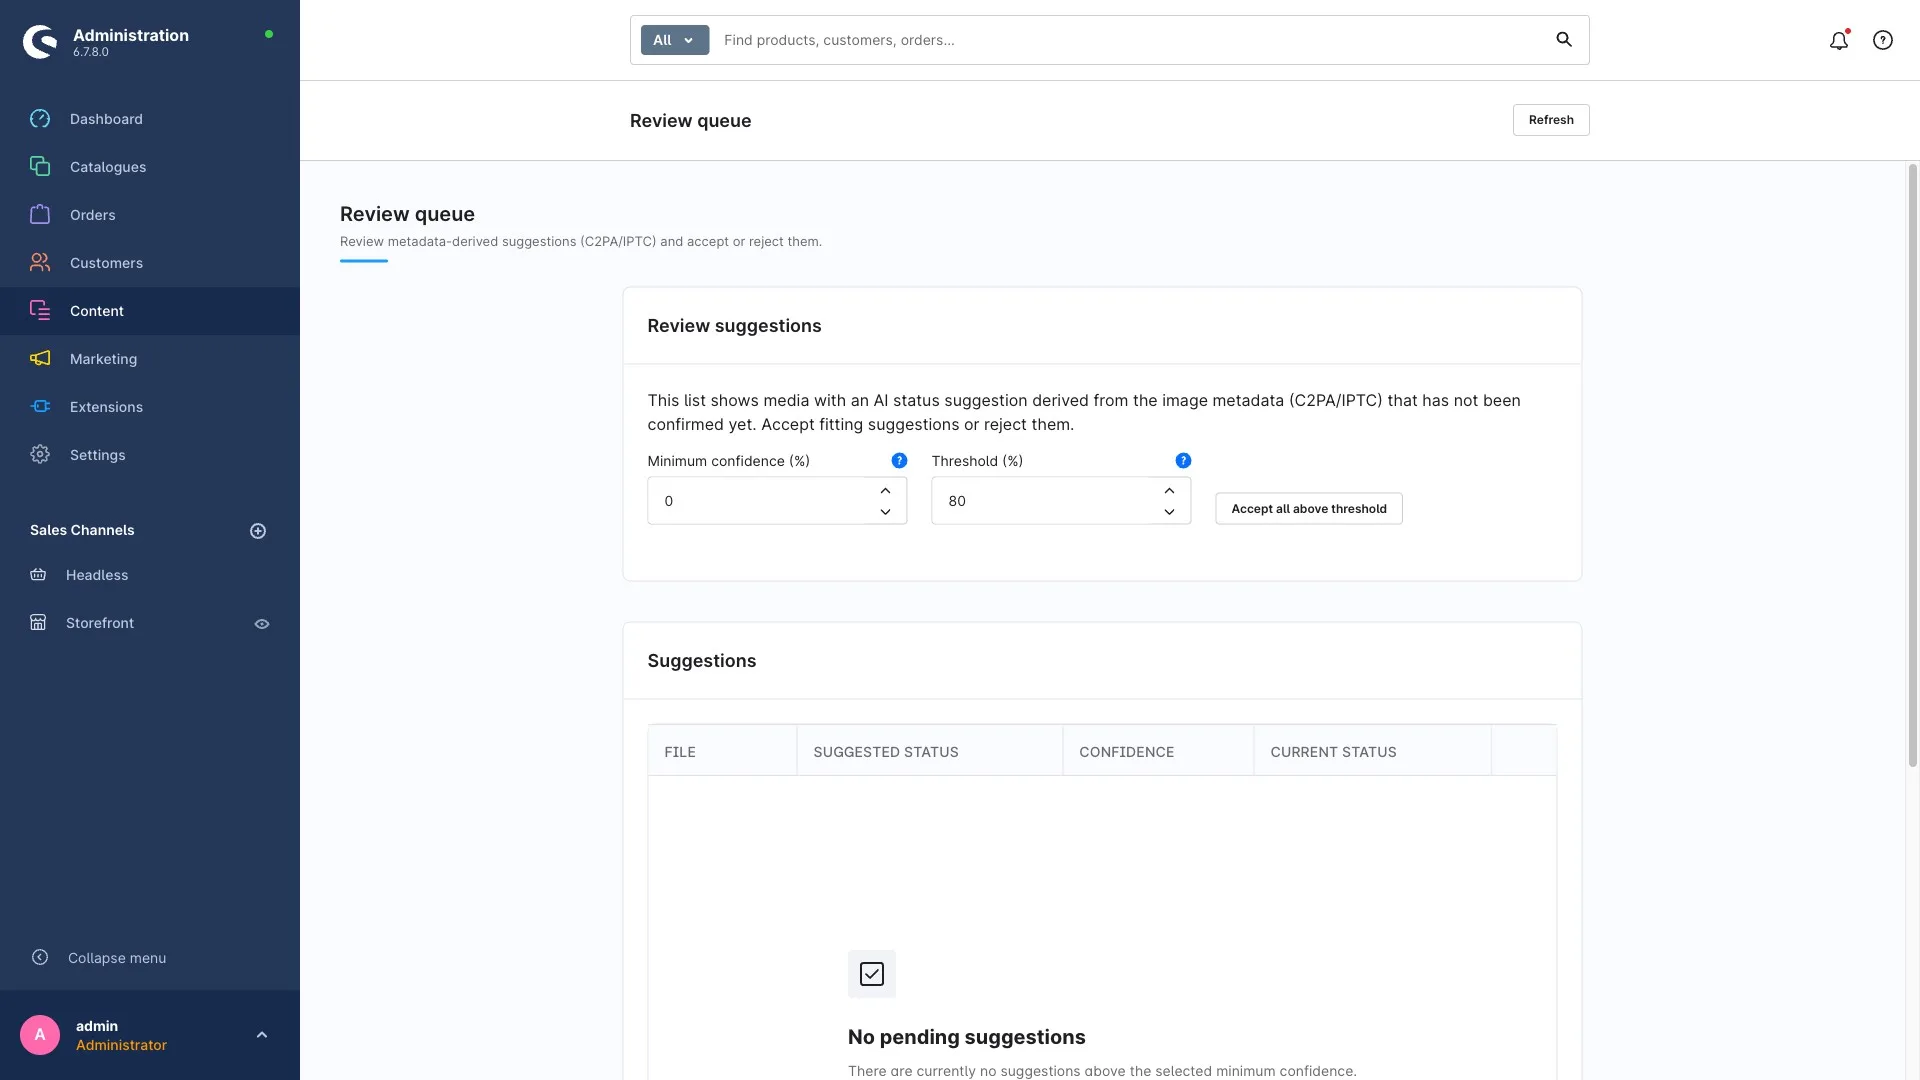
Suggestions that weren't applied automatically collect in the review queue.
Step 1: Open EU AI Act Compliance → Review queue.
Step 2: You see a list with file, suggested status, confidence and current status. Use the minimum confidence filter to decide which suggestions are shown.
Step 3: Decide per row:
- Accept – the suggested status is set.
- Reject – the row is hidden, the status stays as it is.
Step 4 (optional): With Accept all above threshold you take over every suggestion that reaches a confidence you choose.
Automatically derived suggestions deserve a critical look too. Responsibility for correct labelling stays with you.
Which route fits when?
- A few specific images: label them individually (see Labelling images & video).
- An existing collection sorted into folders: bulk marking per folder.
- A steady stream of new uploads: folder defaults.
- Data from another system: CSV import.
- Unclear cases: metadata scan + review queue.